
Compression Test
Measures mechanical response under compressive load — for hardness and springiness.
Part 1
What is Compression Test
A compression test applies a measured compressive force to a food sample with the texture analyzer, objectively evaluating hardness, springiness and adhesiveness. The probe or platen drives down at a constant rate while force and displacement are recorded as a full curve, replacing subjective sensory judgment.
Application Domains
Texture Properties Measured
Part 2
Principle & Operating Procedure
Principle
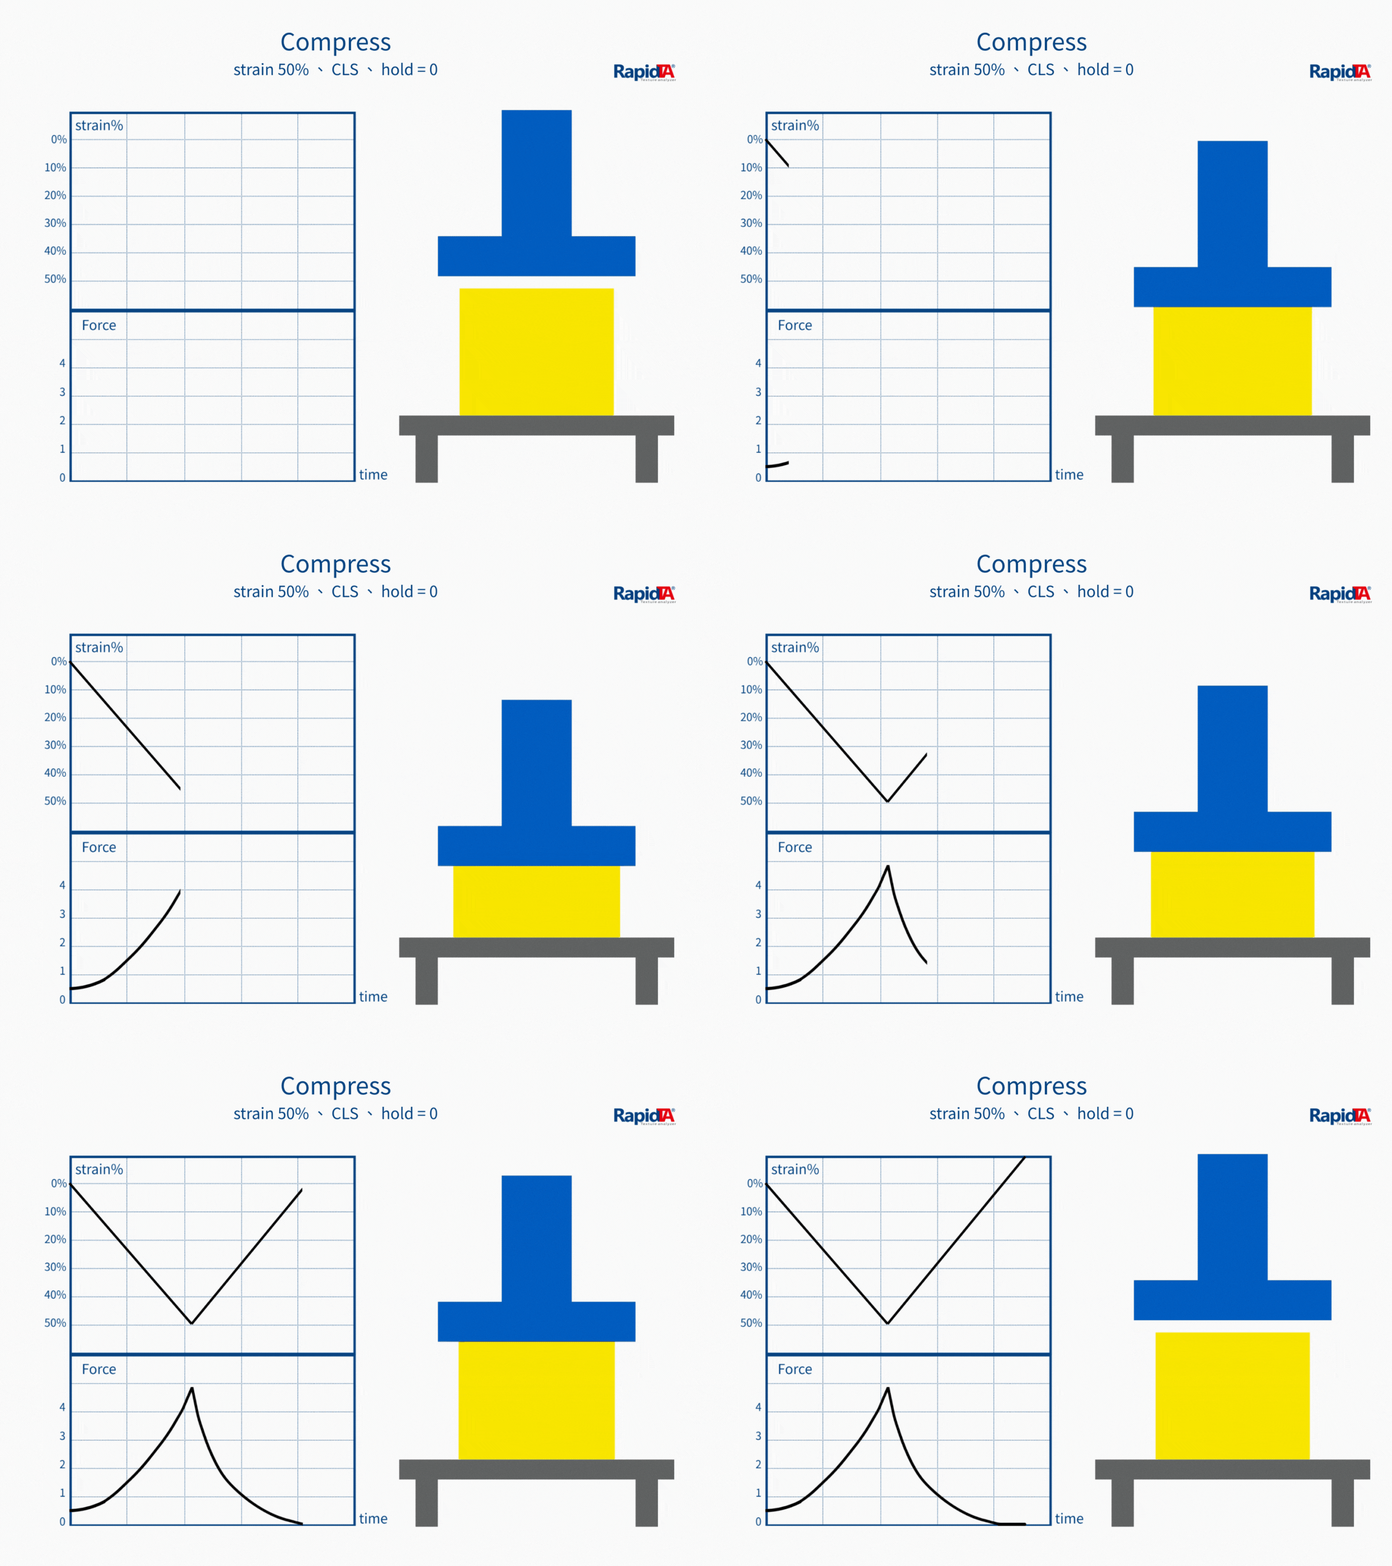
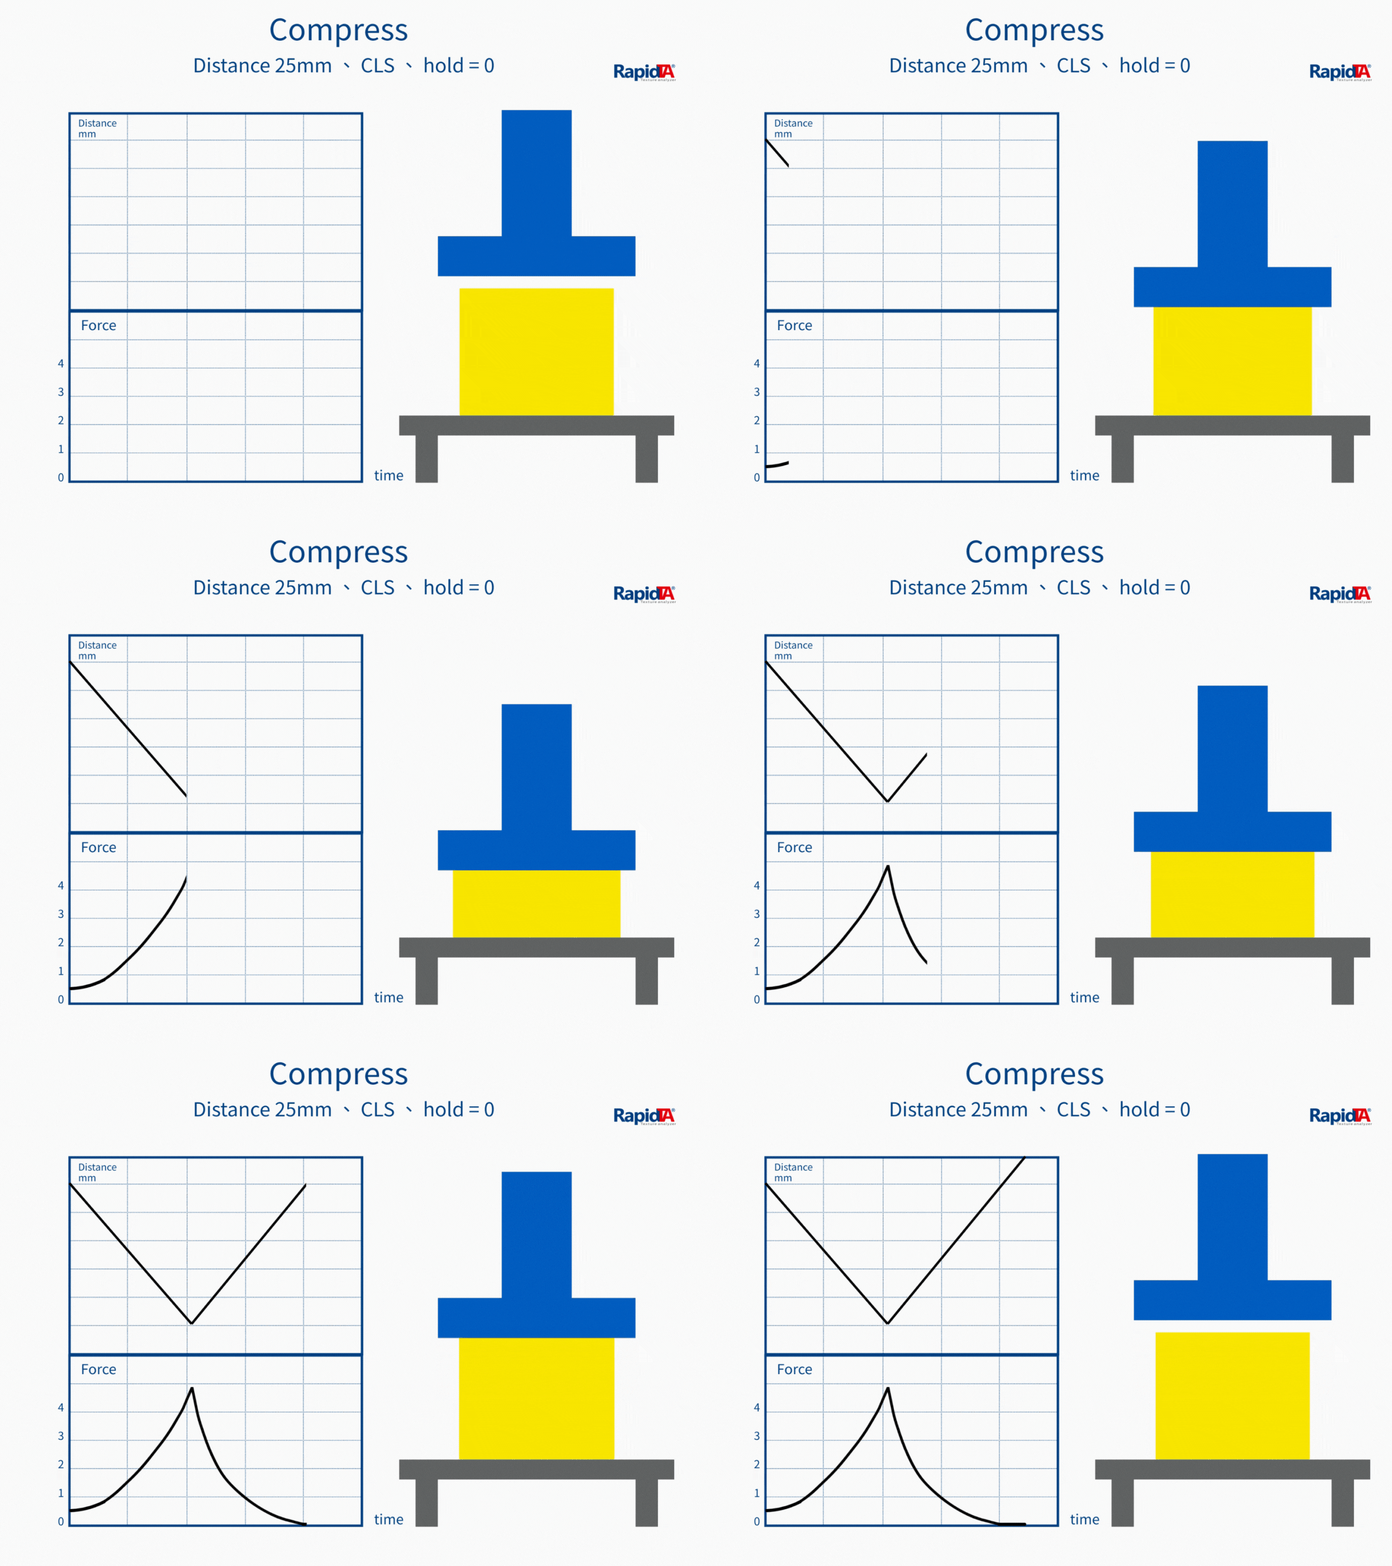
The instrument drives a probe or platen down at a constant rate and records the full force–displacement curve, from which texture parameters are calculated.
Operating Procedure
Prepare and position the sample
Place the sample on a flat, stable stage and choose the right probe or platen.
Probe descends to contact
The probe moves down at the set rate; the trigger force marks contact and recording starts.
Compress to target depth
Force is applied to the set distance or strain while the full curve is captured.
Return stroke and adhesion record
The probe returns, recording the rebound curve for adhesion and recovery.
Calculate and compare
The software calculates hardness, springiness and more, with batch statistics and QC reports.
Part 3
Probe Selection & Characteristics
Probe and fixture choice strongly affects accuracy and repeatability. The probes and kits below are commonly used for this action — select one to see its samples.
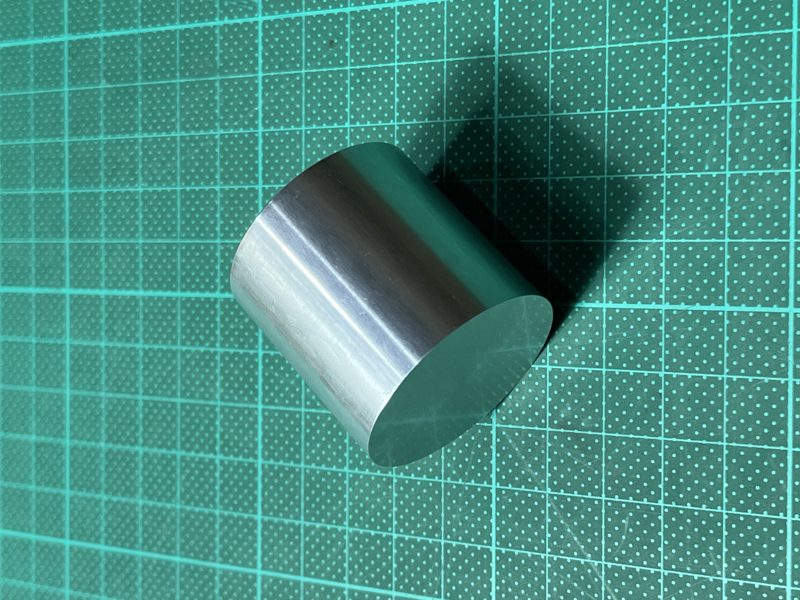
Cylinder probe
Ø 25 / 36 / 40 mm
The most common compression probe for homogeneous foods
Choose diameter by sample size; measures hardness and stickiness
View probe & test kit →
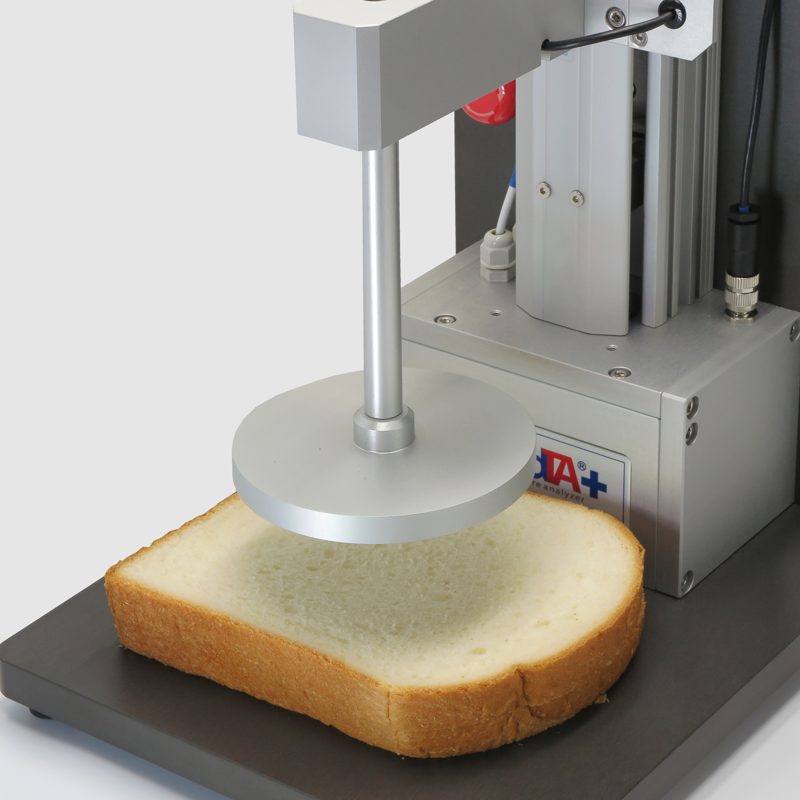
Compression platen
Ø 75 / 100 mm
Whole fruit, vegetables or bulky samples
Even large-area compression; bruising assessment
View probe & test kit →
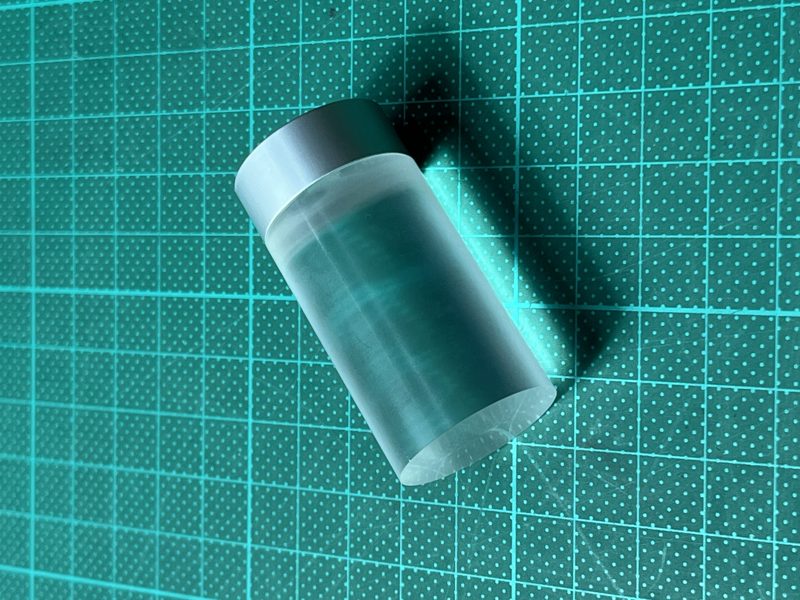
Acrylic cylinder probe
Ø 25 mm, clear
AIB standard method for crumb hardness
Food-safe, easy to watch deformation
View probe & test kit →
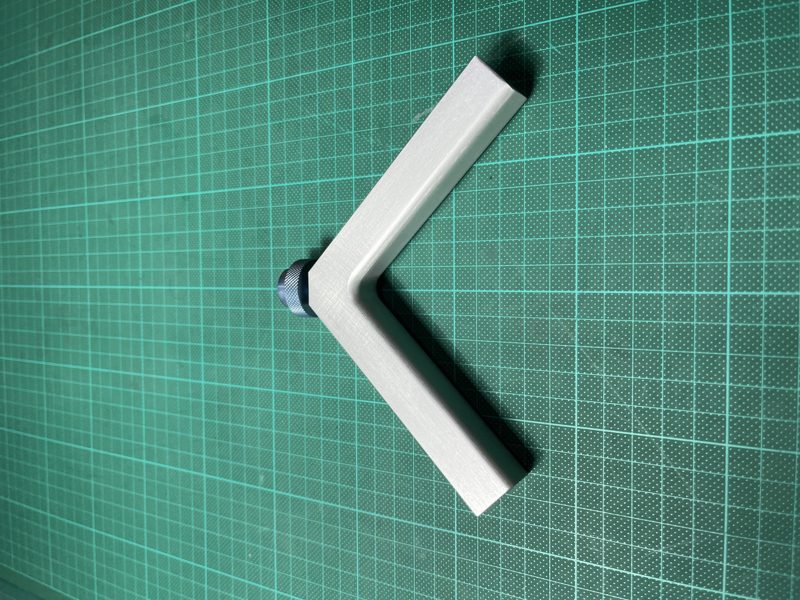
V-slot toast fixture
Dedicated fixture
Packaged sliced bread
Simulates real loading to compare softness and springiness
View probe & test kit →
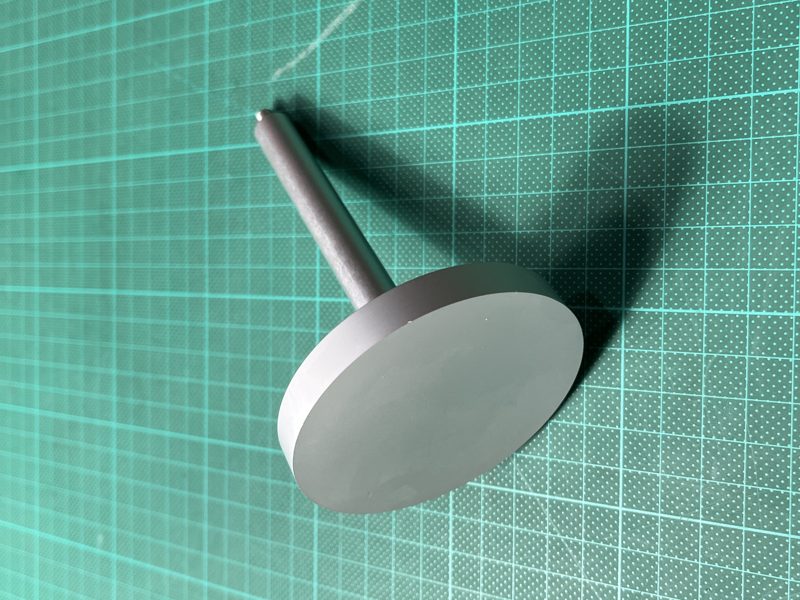
φ 75 mm compression plate
PL75
View probe & test kit →
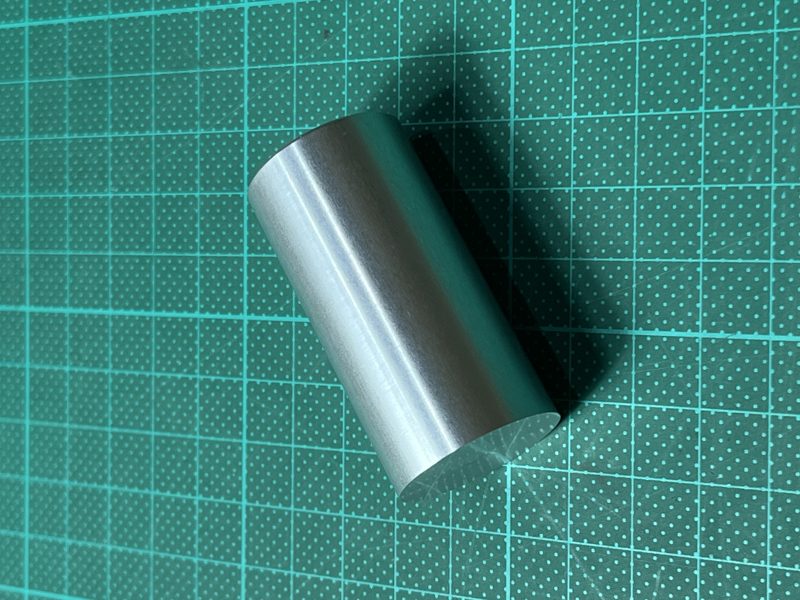
φ 25 mm cylinder probe. Aluminum
CY25AL
View probe & test kit →
Part 4
Data Interpretation & Analysis
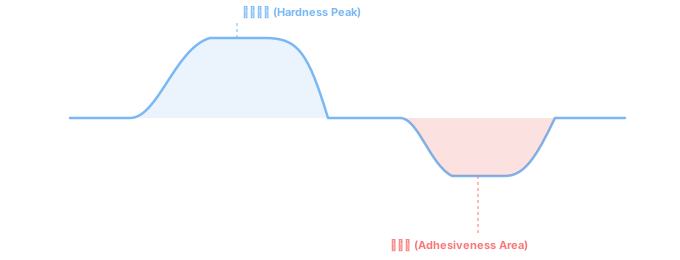
The positive peak of the compression curve is hardness, the primary texture index. The negative area on the return stroke is the energy needed to pull the probe off — surface stickiness. Rebound shows springiness.
Test Curves & Diagrams
Parameters & Calculations
After a test, the software calculates these parameters from the curve
Hardness
Peak positive force — the main texture indicator.
Formula:Positive peak of the compression curve
Springiness
Height ratio the sample recovers after the probe returns.
Adhesiveness
Area of the negative-force region on the return — energy to pull the probe off.
Formula:Negative-force area on the return
Part 5
Application Cases
Applicable Test Samples
These samples use this action — select one for the full test information
Part 6
Frequently Asked Questions
What is a Compression Test?
A Compression Test applies pressure to a sample with a probe and measures the force, deformation and recovery during compression. It is used to assess hardness, softness, brittleness and compression behavior.
Which foods can be measured with a Compression Test?
Common applications include bread, cake, biscuits, jelly, gummy candy, cheese, meat, fruit and vegetables. The probe and test conditions can be chosen to suit each sample.
Which probe should I choose for a Compression Test?
Choose the probe size and shape by sample size, shape and test purpose. Cylindrical or flat probes are common. Larger probes assess overall compression behavior; smaller probes test local areas.
What data can a Compression Test provide?
Common outputs include peak force, hardness, deformation and the force–distance relationship. With TPA, springiness, cohesiveness and chewiness can also be analyzed.
Why do Compression Test results differ between samples?
Results are affected by sample size, temperature, moisture content, probe size, test speed, compression ratio and how the sample is placed. Keep test conditions as consistent as possible when comparing samples.
Related Test Actions
TPA (Texture Profile Analysis)
One test returns hardness, springiness, cohesiveness and more — simulating human chewing.
Learn More →
Puncture Test
Measures puncture resistance — surface hardness, fracturability and gel strength.
Learn More →
Tension / Extensibility Test
Pulls the sample vertically to measure extension and breaking force — extensibility and tensile strength.
Learn More →
Not sure which texture test method fits your product?
Feel free to share your testing needs anytime — we provide free test method recommendations, custom fixture selection, instrument model suggestions, and tailored quotes.